Make 3D Prints Look Like Metal: Rattle Can Tutorial
Budget friendly realistic steel and metal finishes on 3D prints with rattle cans and graphite.
TUTORIALS
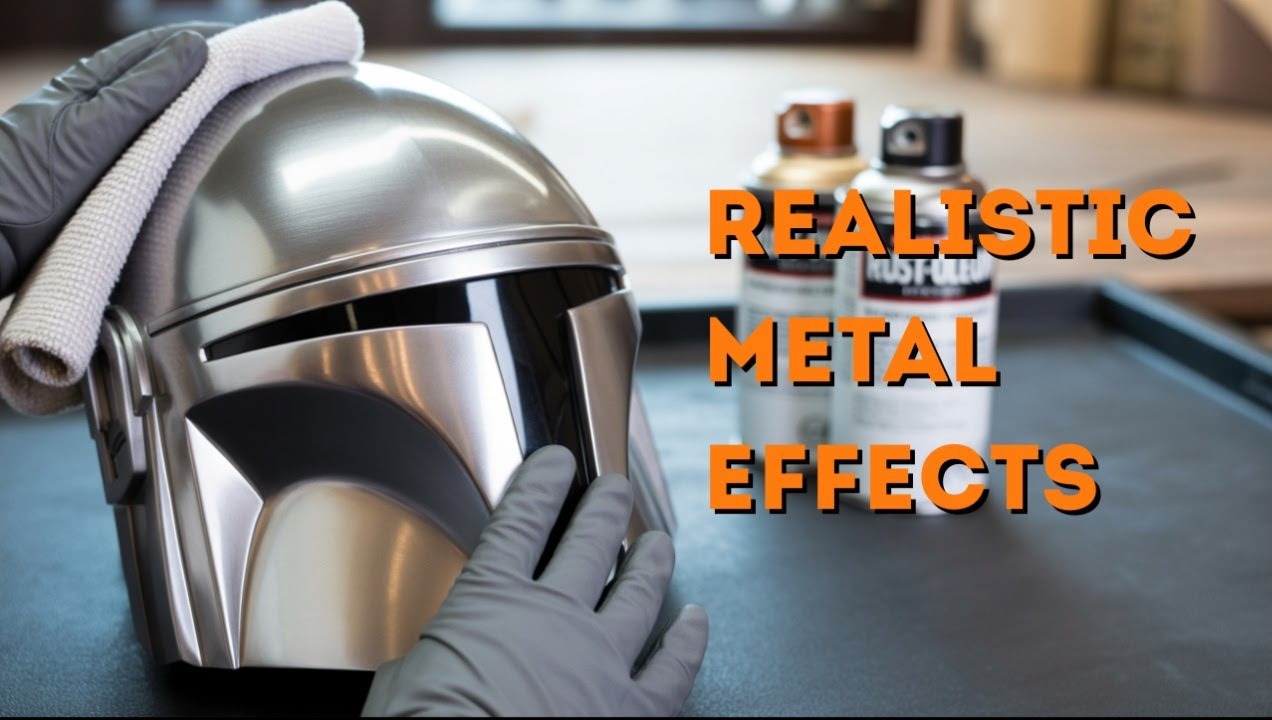
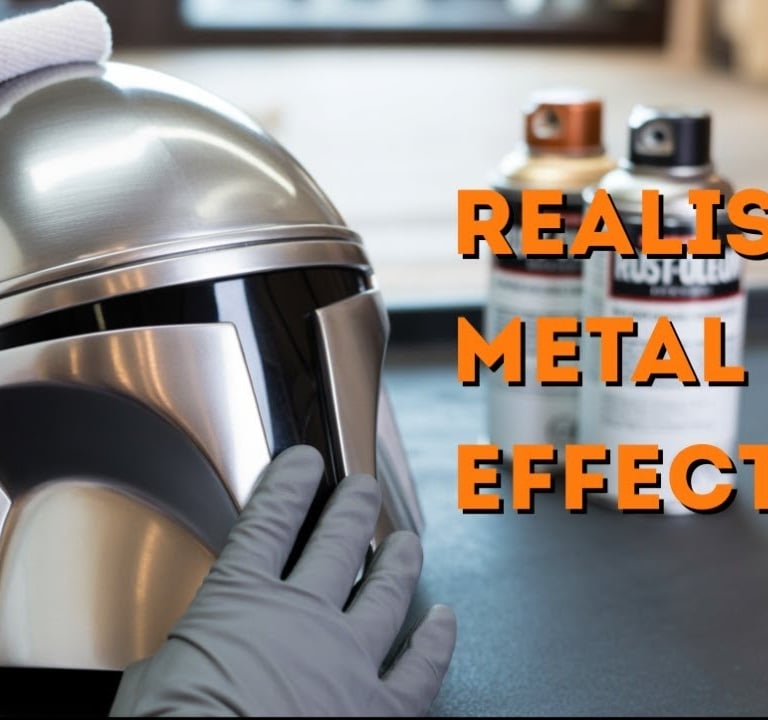
Want your 3D printed armor to look like actual forged metal instead of painted plastic? I'm going to show you four techniques using rattle cans and graphite powder to achieve believable metal finishes for less than the cost of a fast food combo. We're talking polished steel, chrome effects, and that blued metal look you see on real firearms.
Tools and Materials You'll Need
Before we start, here's what you're working with:
Paints:
Seymour PBD Professional Primer (my favorite!)
Montana Can/MTN in Silver Chrome (for masked areas)
Rustoleum Custom Chrome in Silver Chrome (for non-masked areas)
Finishing supplies:
0000 grade steel wool (super fine)
Cheap paper towels (rougher texture works better)
Beauty blender type makeup sponge (egg shape is great for applying graphite)
Safety:
Respirator mask with filters (graphite is very fine and easy to inhale)
Gloves (keeps fingerprints off parts and graphite off your hands)
Why Two Black Primers?
You're probably wondering why I'm using Rustoleum flat black primer on one piece and Rustoleum 2X flat black paint + primer on another. Each creates a slightly different effect when processed.
Straight flat black primer gives you the darkest version of what I call "black steel." Think heavy industrial machinery. The paint + primer version comes out a little brighter and sometimes yields a subtle blue tint similar to blued steel on firearms. The metal effect really pops with this one.
For chrome work, Montana Can silver chrome is tough and won't peel when masked, perfect for metal underpaint that'll get painted over. The Rustoleum Custom Silver Chrome is my go-to for final metal finishes, but I only use it on areas that won't require masking because it's finicky and can crack if you layer it wrong.
Why Not Just Use Gloss Black?
Fair question. Under ideal conditions, gloss black is probably the best starting point. But dust, insects, and temperature variations can cause gloss paint to go south faster than sushi on a hot summer day.
Beyond contaminants and slow dry time, gloss coats often feature orange peel effect. The only fix is wet sanding to smooth it out, at which point the gloss is now flat anyway. You've just added extra steps and drying time.
I find flat black paint lays down great, dries really fast, and when buffed creates a sheen instead of a gloss. To me that looks more like metal and less like candy. Opinions vary though. I like this approach because it's quick, cheap, and easy to fix if something goes wrong. A winning combo in my book.
Clear coat is not required and would actually be problematic when it comes time to do inevitable touch-ups down the road.
Step 1: Steel Wool Buffing Creates the Foundation
First step is gentle buffing with 0000 grade steel wool. This is critical. You want super fine grade, and you want to use the same pressure you'd use to pet a cat. I'm serious about that.
You're doing two types of motion here: circular passes and back-and-forth linear strokes. This combination creates subtle micro-scratches that'll diffuse light like real machined metal instead of reflecting it like painted plastic.
Keep buffing until the primer becomes fairly reflective and very smooth. Yeah, it's possible to burn through edges, but that won't seriously impact the final finish. Just be careful not to burn through larger flat areas since those may need touch-ups. Good news is it's just primer, so it's very forgiving.
The key here is creating smoothness. The micro-scratching diffuses the clarity of reflection. So the more reflectivity you can see, the smoother the surface is becoming. Continue until you have a definitive metallic sheen.
Yes, it will start to look metallic even at this early stage with just black primer. That's when you know you're ready for the next step.
Step 2: Paper Towel Polishing Maximizes the Sheen
Now we're going to maximize that reflectivity with the most basic of tools: everyday paper towels. Preferably the cheaper ones. They're rougher and work better for polishing paint. I think they're somewhere equivalent to about 3000 grit sandpaper, but that's just a guess.
The paper towel buffing process is the exact opposite of steel wool. It's way more aggressive and requires a good bit more elbow grease. You're using significantly more pressure here, but these two processes work together as two sides of the same coin.
We're looking for the buffing action to produce a near-mirror finish with just slight diffusion. The metallic effect should be much more pronounced now compared to the steel wool stage.
The Graphite Magic (And Why It Works)
There's something magical about graphite powder. I use the type available at craft stores like Michaels and Hobby Lobby. You can apply it with paper towels or cheap brushes, but I prefer beauty blenders (those makeup sponges).
Safety first: Wear gloves and a filter mask. Graphite is very fine and easy to inhale if you're not extremely careful. Gloves also keep fingerprints off your parts and graphite off your hands.
Application is easy. Just wipe the graphite on with your applicator of choice. You'll find that a little goes a long way.
With the graphite applied, return to the paper towels. This time the action is similar to the previous buffing, but pressure can be varied as needed. I think the graphite is acting like a polishing compound here. Some of it gets embedded in the paint because once finished, there's almost zero graphite left on the surface.
Truthfully, I really don't know why it works like it does. I just know it works and looks awesome. If any of you might know what's going on here chemically, share it in the comments. I'd love to get your take on it.
Chrome Application: Two Different Techniques
Montana Can Silver Chrome (For Areas That'll Be Masked)
This chrome is tough and won't peel when you apply masking tape over it. Perfect for underpaint on areas that'll get painted over or masked for two-tone effects.
Shake the can well for a full minute before applying. This chrome shoots fairly fast, so keep your hand moving at all times. Start your spray stroke off the part and end off the part to avoid drips and sags.
Turn the part frequently to get total coverage without overpainting any single area. Once the part is covered, stop. Let it dry for 10 to 15 minutes before applying the next coat.
Apply a second coat using the same technique. Then let it dry for about 30 minutes before moving to the next step.
Rustoleum Custom Silver Chrome (For Final Finish Areas)
This paint shoots softer than Montana Can, so technique is different.
First coat (mist pass): Shake well. Move your hand quickly across the part, staying about 8 to 10 inches from the surface. This first coat needs to be very light, like a mist. You should see a speckled finish over the black underneath. This is correct.
Why so light? This paint has a tendency to crack if you put it down too heavy on the first pass. The light mist coat gives the heavier second coat something to grip.
Stop. Let it dry for 10 to 15 minutes.
Second coat (coverage pass): Now you can apply heavier coverage using even strokes. Make several passes over each area until you achieve complete coverage.
Depending on temperature and humidity, this paint can take anywhere from a couple hours to a couple days to fully dry. Your patience will be rewarded. Don't rush this.
Processing the Chrome Finishes
Once your chrome is fully dry, you're going to process it the same way you did the black primer.
Hit it with 0000 steel wool using a very light touch. This adds micro-scratch detail and makes the paint more receptive to graphite polishing. This step is optional but really helps with weathering later since the micro-scratches will catch dirt washes.
The reflectivity you achieve depends entirely on how smooth you got the primer in the earlier stages. If you rushed the primer prep, your chrome won't be as reflective. This is why that initial steel wool and paper towel work is so critical.
Apply graphite with the beauty blender, then buff the surface with paper towel using good pressure. The graphite acts as a polishing compound fine enough to polish the micro-metal pigment in the paint. Pressure and friction both help here.
The finished result speaks for itself. Reflectivity is significantly boosted. Though it's not a mirror finish, you can clearly see your reflection in the paint.
The Four Finishes Compared
Here's what each technique produces:
Flat black primer + graphite: The darkest finish. Deep black steel appearance. Great for weathered, battle-worn armor pieces. This is your "black steel" look.
Flat black paint + primer + graphite: Slightly brighter than straight primer. Sometimes produces a subtle blue tint similar to blued steel on firearms. The metal effect really pops with this version.
Montana Can silver chrome + graphite: Tough chrome finish that can be masked without peeling. Good reflectivity. Perfect for areas that'll get additional paint or weathering.
Rustoleum Custom Silver Chrome + graphite: The brightest, most reflective finish. This is my standard for a bare polished metal look. Most realistic metal appearance of all four techniques.
The best part? If over time the finish dulls a bit, a quick rebuff with graphite and paper towel brings back the shine and reflectivity quickly and easily. You can't say that for a clear-coated part.
What About Clear Coating?
You'll notice I don't clear coat these finishes. Clear coat would lock in the shine, sure, but it would also make touch-ups nearly impossible. When you inevitably ding your armor at a con or event, you want to be able to buff out the damage with graphite and paper towel.
If you clear coat, that damaged spot now requires sanding, primer, paint, polish, graphite, and clear coat again to match. Without clear coat, you just buff it out. Takes 30 seconds.
The graphite-polished finish is surprisingly durable on its own. It holds up well to normal handling and wearing. And when it doesn't, the fix is trivial.
Your Turn
What do you think? Have you tried graphite polishing on your prints? Got theories on why graphite acts like a polishing compound on metallic paint? Any alternative techniques you've discovered? Let me know in the comments.
For visual demonstrations of the steel wool technique, paper towel buffing motion, and before/after comparisons of each finish, watch the full video on YouTube.
This post contains affiliate links, which means I may receive a commission if you click a link and purchase something I've recommended. This comes at no extra cost to you. I only recommend products and tools I personally use in my workshop. All opinions are my own.
© Mando Armory 2026. All rights reserved.